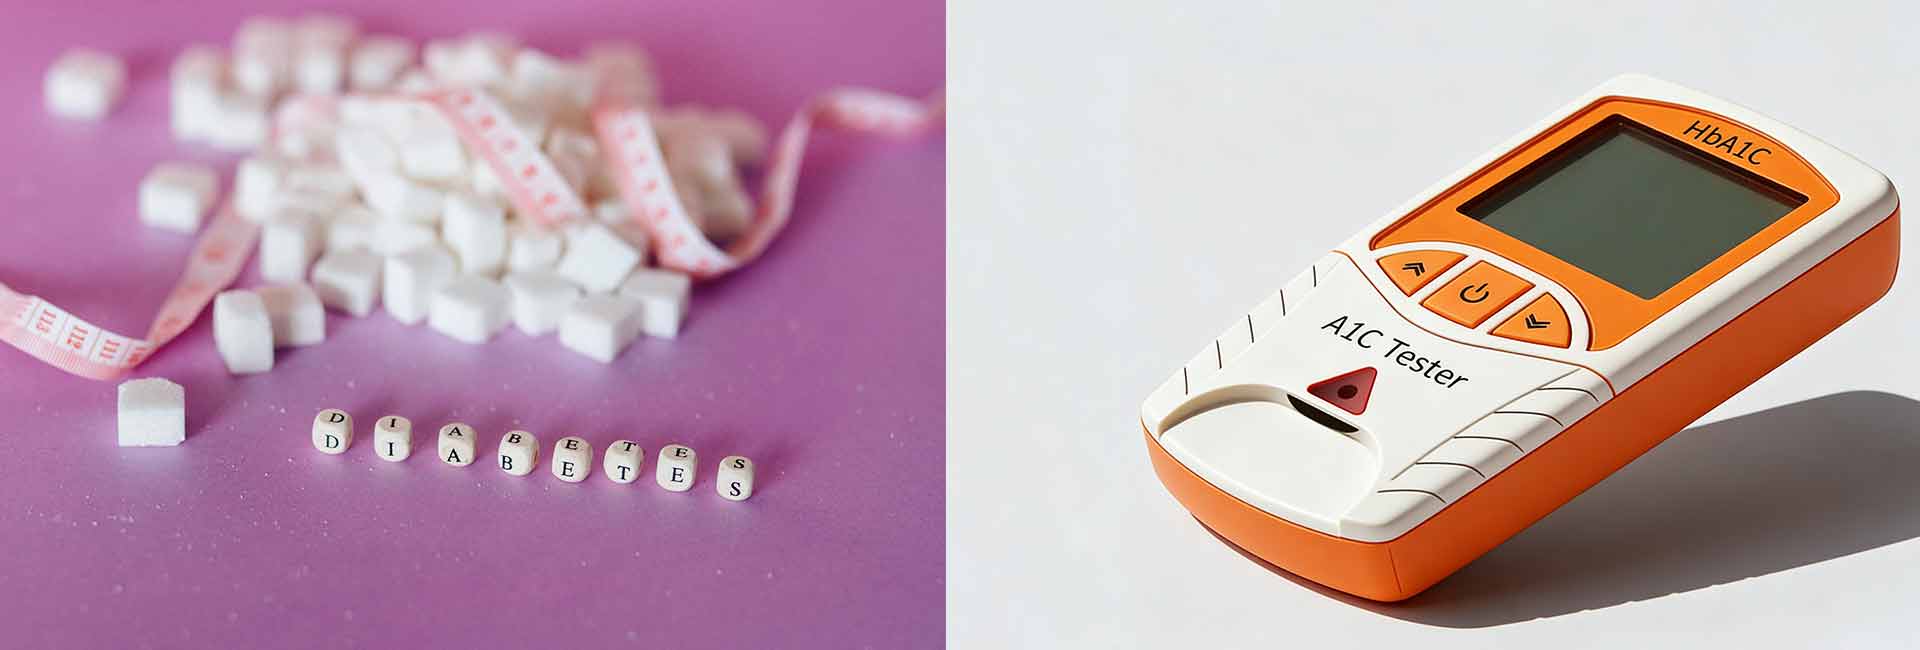
The most important step in using an A1C tester involves following instructions exactly. Accurate results play a vital role in diabetes management and help reduce cardiovascular risks. Clinical studies show that deviations from personalized A1C targets prompt treatment changes, improving health outcomes. Careful preparation and attention to each step ensure reliable results for anyone.
| Test Type | Accuracy Level | Factors Affecting Accuracy |
|---|---|---|
| Home A1C Testers | Generally lower | User technique errors, not suitable for diagnosis |
| Laboratory Tests | Higher | Standardized and verified daily, more reliable |
Training videos and guides offer clear directions, making the process accessible to first-time users.
Key Takeaways
- Follow instructions carefully to ensure accurate A1C test results. This helps in effective diabetes management.
- Gather all necessary materials before starting the test. Proper preparation leads to reliable outcomes.
- Maintain hygiene by cleaning hands and using sterile equipment. This prevents contamination and ensures valid results.
- Test regularly to track changes in A1C. Consistent testing supports better health decisions and diabetes management.
- Consult a healthcare provider for personalized A1C goals and retesting schedules. Professional guidance enhances monitoring effectiveness.
Prepare the A1C Tester
Gather Materials
Before starting, users should collect all necessary items for the A1C tester process. These include:
- A1C tester
- Code chip (specific to the test strip lot)
- Test strip (unexpired, stored properly)
- Buffer solutions (A and B)
- Sterile lancet
- Alcohol swab or pad
- Clean tissue or gauze
Tip: Users do not need to fast before using an A1C tester. Always check the Quick Reference Guide for the specific model.
Proper storage of materials helps maintain accuracy. The table below summarizes manufacturer recommendations:
| Recommendation | Details |
|---|---|
| Keep Test Strips in a Cool, Dry Place | Store in original container with lid tightly closed. Discard expired strips. |
| Protect Tester Device | Store at room temperature, away from heat and sunlight. Clean regularly. |
Add Code Chip and Turn On
Each A1C tester requires the correct code chip for calibration. This step ensures the device matches the test strip lot and provides accurate results. Users should:
- Insert the code chip into the tester as shown in the Quick Reference Guide.
- Turn on the device and wait for the display to indicate readiness.
Using the correct code chip and test strip is essential for reliable readings. The following points highlight why this matters:
- Proper calibration ensures accurate blood glucose readings.
- The tester must match the specific test strips to avoid faulty results.
- Some testers require manual entry of a code or chip for calibration.
Insert Test Strip
Once the device is ready, users should insert a new test strip into the A1C tester. The tester will usually display a symbol or message confirming correct insertion. Modern at-home A1C testers have improved in accuracy, but users must follow each step carefully for the best results.
Note: Handle test strips with clean, dry hands to prevent contamination.
Collect and Apply Blood Sample
Sterilize Fingertip
Proper hygiene is essential before collecting a blood sample for the A1C tester. Individuals should always clean their hands thoroughly and prepare the puncture site with care. The following table outlines recommended hygiene practices:
| Hygiene Practice | Description |
|---|---|
| Hand Hygiene | Perform hand hygiene immediately after removing gloves and before touching other medical supplies intended for use on other persons. |
| Glove Use | Wear gloves during blood glucose monitoring and change gloves between patient contacts. Discard gloves appropriately. |
He or she should select a finger for puncture, then massage, clean, and dry the site. Alcohol swabs are commonly used, but any residue left on the skin may affect the accuracy of the reading. It is important to allow the site to dry completely before proceeding.
Collect Blood Sample
The next step involves collecting the blood sample. The user should puncture the skin with a sterile lancet. Wiping away the first drop of blood helps remove any contaminants. He or she should then collect exactly 3 microliters (µL) of blood, as required by the A1C tester. Using the correct amount ensures the device can analyze the sample accurately.
Tip: Always use a new, sterile lancet for each test to prevent infection and ensure reliable results.
Add Buffer A
Buffer solutions play a vital role in the A1C testing process. Buffer A must be added before the blood sample. This solution helps maintain stable pH levels and ionic concentrations, which are critical for obtaining accurate hemoglobin A1c measurements. The buffer creates optimal conditions for the chemical reactions inside the test strip, supporting precise analysis.
The user should add exactly three drops of Buffer A to the designated area on the test strip or cartridge. Using the correct amount is necessary for the test to function as intended.
Apply Blood Sample
After adding Buffer A, the user should apply the collected blood sample to the test strip. He or she must ensure the entire sample is transferred. The A1C tester requires the full 3 µL to deliver a valid result. Careful application prevents errors and supports consistent readings.
Note: If the blood sample is too small or too large, the device may not provide an accurate result.
Add Buffer B
The final preparation step involves adding Buffer B. The user should add three drops of Buffer B to the test strip, following the instructions for the specific A1C tester model. Buffer B further stabilizes the sample and enhances the separation and analysis of glycated hemoglobin.
Buffer solutions, including Buffer B, are formulated to support the chromatographic process inside the device. This step ensures the test environment remains consistent, which is essential for reliable results.
Best Practices for Disposal
After completing the sample collection and application, the user must dispose of used materials safely. The following best practices help protect both the individual and the environment:
- Place used lancets and test strips in a puncture-proof container, such as a heavy plastic bottle with a screw cap.
- Seal the container with heavy-duty tape and label it as “USED SHARPS. DO NOT RECYCLE.”
- Dispose of blood strips in the same container or a sealed bag.
- Check for local collection sites, such as police stations or health clinics, for proper disposal.
- Never use glass or clear plastic containers for sharps.
By following these steps, individuals can ensure safe handling and disposal of all materials used during A1C testing.
Consistent hygiene, precise measurement, and careful handling at each stage help guarantee reliable results from the A1C tester.
Run and Read the Test
Incubate for 5 Minutes
After applying the blood sample and buffer solutions, he or she must allow the test to incubate for exactly five minutes. Timing plays a critical role in the accuracy of the A1C tester. The chemical reactions inside the test strip require a full incubation period to deliver reliable results. Many testers display a countdown or signal when the incubation is complete.
Tip: Use a timer or watch to track the five-minute period. Avoid moving the tester during incubation.
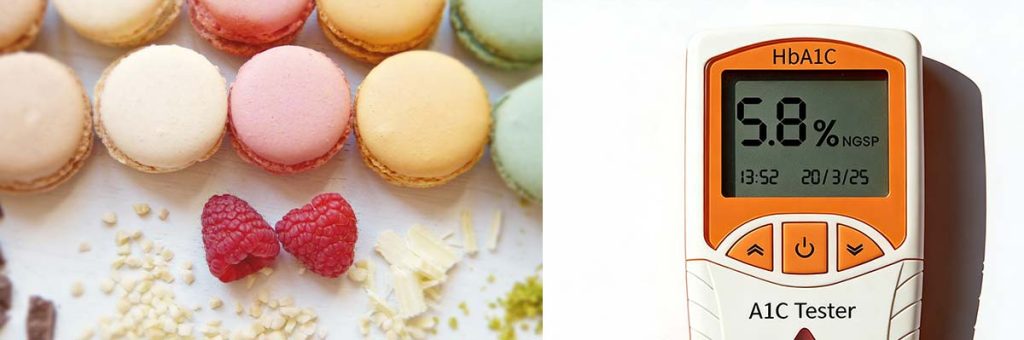
Read Result
Once the incubation finishes, the tester will display the result. He or she should check the screen for a percentage value. This number represents the average blood sugar level over the past two to three months. Reading the result promptly ensures the value reflects the sample accurately.
- The display usually shows a percentage, such as 6.2%.
- He or she should record the result for future reference.
- If the tester shows an error message, repeat the process with a new sample.
Interpret A1C Tester Results
Understanding the percentage result helps individuals manage their health. The following table summarizes standard reference ranges for A1C levels:
| A1C Level | Interpretation |
|---|---|
| Below 5.7% | Normal |
| 5.7% to 6.4% | Indicates prediabetes |
| 6.5% or more | Indicates diabetes |
He or she should compare the result to these ranges. For example, a value below 5.7% suggests normal blood sugar control. A result between 5.7% and 6.4% signals a higher risk for diabetes, known as prediabetes. A value of 6.5% or above indicates diabetes.
Note: If the result seems unusually high or low, check the tester instructions and repeat the test. Consult a healthcare provider for guidance.
A1C goals may differ based on individual health plans. Many experts recommend an A1C goal of 7% or less for people managing diabetes. He or she should discuss personal targets with a healthcare professional.
A1C Tester Accuracy Tips
Avoid Common Mistakes
Many errors in home testing occur because users skip steps or handle materials incorrectly. User mistakes account for over 22% of errors, while device malfunctions cause less than 2%. He or she should pay attention to the following common mistakes:
- Using the wrong sample size
- Skipping steps in the instructions
- Handling test strips with dirty or wet hands
- Not allowing the fingertip to dry after sterilization
- Applying buffers in the incorrect order
- Using expired or improperly stored materials
A table below highlights the impact of these mistakes:
| Mistake | Possible Outcome |
|---|---|
| Wrong sample size | Invalid or inaccurate result |
| Skipped steps | Test failure or error |
| Dirty hands | Contaminated sample |
| Expired materials | Unreliable readings |
Careful attention to each step reduces the risk of inaccurate results.
Consistent Testing Habits
He or she benefits from regular testing routines. Consistent habits help track gradual changes in A1C levels, which reflect glucose management over 6-8 weeks. Testing regularly provides timely feedback and supports informed decisions about lifestyle and treatment. Individuals who test at the same time of day and follow the same process each time improve reliability.
Consistency in testing helps identify trends and supports better diabetes management.
When to Repeat the Test?
Repeating the test may be necessary in several situations. Health care professionals recommend retesting for confirmation as diabetes develops. The following points outline when to repeat an A1C test:
- A provider may suggest repeating the test in a few months to confirm a diagnosis.
- Doctors recommend a re-testing schedule based on age and risk factors.
- Professionals repeat lab tests for confirmation as diabetes progresses.
- Testing frequency should match the individual’s health situation and current glucose control.
He or she should always follow the guidance of a healthcare provider regarding retesting intervals.
Timely retesting ensures accurate monitoring and supports effective treatment decisions.
Conclusion

He or she should remember these key steps for reliable results: gather materials, follow each instruction, and use the A1C tester as directed. Regular testing supports better diabetes management:
- Test at least twice a year if treatment goals are met.
- Increase frequency if treatment changes or results are concerning.
| Benefit of Consulting Providers | Motivation for Users |
|---|---|
| Professional guidance | Improved daily health decisions |
Practice and training improve accuracy over time. Reaching out to a healthcare provider ensures safe and effective monitoring.
Consistency and practice make the process easier for everyone.
FAQ
How Often Should Someone Use an A1C Tester?
He or she should test at least twice a year if blood sugar stays within target range. More frequent testing may help when adjusting treatment or if results change. A healthcare provider can recommend the best schedule.
Can He or She Eat or Drink Before Testing?
He or she does not need to fast before using an A1C tester. The test measures average blood sugar over several weeks, not current levels. Eating or drinking does not affect the result.
What Should He or She Do If the Tester Shows an Error?
He or she should check the instructions for troubleshooting steps. Common solutions include repeating the test with a new sample, checking the code chip, or using a new test strip. If errors continue, contact customer support.
Is the Home A1C Test as Accurate as a Lab Test?
Home A1C testers provide reliable results for monitoring trends. Laboratory tests offer higher accuracy for diagnosis. He or she should use home testers for regular checks and consult a healthcare provider for confirmation.
How Should He or She Store Test Strips and Buffers?
He or she should keep test strips and buffers in a cool, dry place. The original container protects them from moisture and sunlight. Always check expiration dates before use.